These prospects may be person, organization or individuals. They register In Dynamics AX7 is very similarly as customer register. Only difference between customer and prospect is that prospect has no financial impact. They are just record keeping or register sales of Quotation. But in the case of client accepts the sales quotation, the prospect must be converted into customer and sale quotation into sales order.
Please click here or below link watch the video for Create a sales quotation in Dynamics AX7
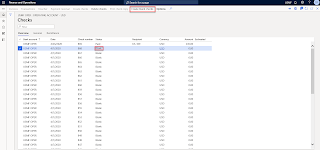
Sales Quotation
1.
Go to Sales and marketing > Sales quotations
> All quotations.
2.
Click New.3. In the Account type field, select an option.
4. In the Customer account field, click the drop-down button to open the lookup.
5. In the list, find and select the desired record.
6. In the list, click the link in the selected row.
7. Click OK.
8. In the Item field, click the drop-down button to open the lookup.
9. In the list, click the link in the selected row.
10. In the Unit price field, enter a number.
11. Click the Setup tab.
12. In the Item sales tax group field, click the drop-down button to open the lookup.
13. In the list, find and select the desired record.
14. In the list, click the link in the selected row.
15. Click Sales quotation line.
16. Click Maintain charges.
17. In the Charges code field, click the drop-down button to open the lookup.
18. In the list, find and select the desired record.
19. In the list, click the link in the selected row.
20. Check or uncheck the Keep checkbox.
21. In the Charges value field, enter a number.
22. Click Save.
23. Close the page.
24. On the Action Pane, click Sales quotation.
25. Click Totals.
26. Click OK.
27. On the Action Pane, click Quotation.
28. Click Send quotation.
29. Click OK.
30. Close the page.
31. On the Action Pane, click Follow up.
32. Click Confirm.
33. Click OK.
34. Close the page.
35. On the Action Pane, click General.
36. Click Sales orders.
37. On the Action Pane, click Sell.
38. Click Confirm sales order.
39. Click OK.
40. Click OK.
41. On the Action Pane, click Pick and pack.
42. Click Generate picking list.
43. Click OK.
44. Click OK.
45. On the Action Pane, click Pick and pack.
46. Click Picking list registration.
47. Click Updates.
48. Click Update all.
49. Close the page.
50. On the Action Pane, click Pick and pack.
51. Click Post packing slip.
52. Click OK.
53. Click OK.
54. On the Action Pane, click Invoice.
55. Click Invoice.
56. Click OK.
57. Click Yes.


No comments:
Post a Comment