Wednesday, December 6, 2017

Employee Master Creation for Payroll

Departments, jobs, and positions are organizational elements that are maintained within Human resources.


A department is an operating unit that represents a category or functional area of an organization that is responsible for a specific area of the organization, such as sales or accounting.
 A department is used to report on functional areas and may have profit and loss responsibility. Also, a department might include a group of cost centres. Sales, accounting, and human resources are some examples of departments in an organization.

Jobs and positions

A job is a collection of tasks and responsibilities that are required of a person who performs a job.
A position is an individual instance of a job. Areas of responsibility, job tasks, job functions, skills, education information, and certificates that are required for a job are also required for positions that are associated with a job.

Job tasks

You can create job tasks that describe the basic tasks that a worker in a position for that job must complete. The same job task can be added to multiple jobs, and positions for those jobs will inherit those job tasks.

Create A Department:

New form will open and
  1. create a new department
  2. Save the record and close


Creating a Job

New form will open and

  1. create a new Job and fill the necessary data

  2. Save the record and close

Creating a Position

    Positions are an important element of the lower level of an organization hierarchy. A position is an individual instance of a job.

    Every position has a length of time that the position is effective. This length of time is referred to as duration.

    When you assign a worker to a position, you fill that position. You can assign workers to multiple positions, but only one worker can be assigned to a position at the same time.

    Positions are important elements of the lower level of an organization hierarchy. In the Position form, you can specify the position that a position reports to. When you assign a worker to a position that reports to another position, you create a reporting relationship between the workers who are assigned to the two positions. 


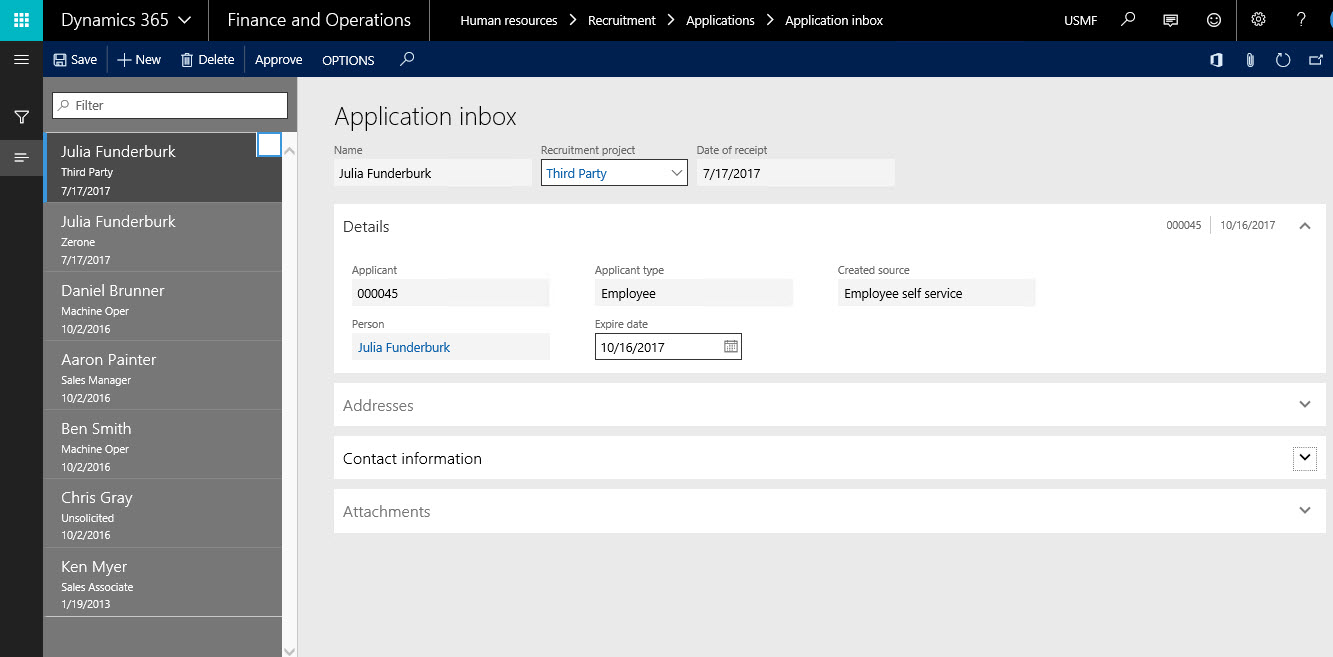
  1. Click new position and create a position
  2. Fill the necessary data (please find the below screen shots for your reference)


Creating /Hire a Employee or Contractor


Note: Employment start date, Position start date and Available for assignment date in position should same.


Worker Tax region Setup for employee


Compensation Setup for employee


Tuesday, July 18, 2017

Managing recruitment and Posting Open jobs in Dynamics 365 Finance and operations Employee self service portal


Create Jobs and publish them on Organization portal:

Go to Human Resource -> Jobs -> Jobs.
Create a new job. In this case let us say it is for a DAX Functional Consultant.


2. Create the required positions under the Human Resource -> Positions -> Positions.

The next step is to create the recruitment project and create the job ads for that.
3. Go to Human Resource -> Recruitment Projects -> Recruitment Projects and create a new recruitment project.

4. Create the Job ad for this recruitment project and enable this to be display on employee self-service.


With this, we are done creating the open jobs and publishing them to the employee self-service workspace.
Candidates viewing and applying for jobs on the employee self-service workspace:
AX allows both internal employees/existing employees and external applicants to apply for open job. The site services feature can be used to integrate the external job self-service workspace and company websites to AX. External candidates can apply directly from self-service workspace and company websites with this integration. (Note: These tasks will need some technical works and some development as well and it is not fully functional out of the box.
1. When candidates log on to the employee self-services workspace of D365 finance and operation, they get to see all the open jobs in the organization.
2. Notice that the job we just created is now appearing on the self-services portal. Candidates can select the job and click Apply to apply for the job

3. Upload the attachment.


Note that, candidates can also apply and submit their resumes without any open job also. All of these applications will be gathered against an unsolicited recruitment project.
Recruiters viewing and processing received applications:
The Application inbox in D365 finance and operations is the central location for all the received applications both from employee self-service portal and external sites (job portals, company websites if integrated). The recruiters finds all the key information about the applications such as candidate contact information, resume attachments, address etc.
1. Go to Human Resource -> Applications -> Applications inbox


Click Attachments to view their resumes

If everything looks okay about the candidate and the resume looks goof to be processed further, then select it for Approval and Click Approve button. You will notice that the application record will disappear from the application basket as it has been processed further now

When the recruiter goes to the recruitment project again, they get to see all the received applications against the recruitment project and can process it further from there


Thursday, March 9, 2017

Delivery schedules Functionalities in Dynamics 365 for sales, purchase and Quotations


Delivery schedules allow you to track order line quantity when you are using multiple deliveries for a single sales order, sales quotation, or purchase order.

Use a delivery schedule when the total quantity on an order or quotation line must be delivered in multiple shipments. Individual shipments are represented by delivery lines. Two or more delivery lines make up one delivery schedule. The delivery lines can have different delivery dates, quantities, modes of delivery, and storage dimensions, such as site and warehouse.

Total order (original order line)
600
Requested delivery schedule
100 per Month
Requested time frame for delivery
6 month, on the first day of each month

For Example: 

Create a new sales order


In this scenario, the customer requests delivery of 600 in batches of 100 over a period of six weeks.To keep track of the delivery requirements, you create a delivery schedule. 


On the delivery schedule page, you create six separate delivery lines. Each delivery line contains 100 and indicates the delivery date for those 100. In this case, each line is offset on the first of the week for six consecutive weeks.


When you create a delivery schedule, the type of the original order line is automatically changed to Order line with multiple deliveries. A line of this type is referred to as a commercial line and is marked by an icon. The delivery line is marked by a different icon. If you change a quantity on a delivery line, the commercial line is updated to the total quantity of the delivery schedule. If a trade agreement has defined a total discount for the order, the delivery schedule ensures that your order is eligible for the total order discount, even when the order is split into separate deliveries.


Orders that have a delivery schedule are processed against the delivery lines. Processing includes the posting of packing slips, product receipts, and invoicing.

Document printouts of orders and quotations that have a delivery schedule show only the delivery lines. They don’t show the original lines (commercial lines).


Happy DAXing

Tarak


Tuesday, March 7, 2017

Consignment inventory functionality in dynamics 365


Consignment stock is often used in Lean manufacturing implementations, With the addition of the “owner” inventory tracking dimension, Consignment inventory can now be set up and tracked from requirement to receipt, then on to use and finally payment.  Only inventory quantities and transactions are tracked in Dynamics 365; no financial impact is recorded to general ledger until ownership is transferred.  Consignment is now an activity on the Procurement and Sourcing Area Page where Replenishment Orders and Inventory Ownership can be managed.

So, let’s walk through this new functionality, and note that this is only available for Dynamics 365 for Operations – it’s not available for Dynamics AX 2012.
  

Inventory owners. Inventory management > Setup > Inventory owners:


Here, we are setting up a link between our vendor and the Owner inventory dimension, and defining the default dimension which represents our own inventory.

Tracking dimension group. Product and information management > Setup > Dimension and variant groups > Tracking dimension group:

We’ve created a new Dimension group with the ‘Owner’ dimension active – in the current version you can’t enable batch or serial tracking (well you can on this form, but you get an error when you try to create an item with this Tracking dimension group).

Inventory ownership change journal. Inventory management > Setup > Journal names > Inventory:

Apart from the new Journal type, and of course we can define a default Ownership change journal name:

Next I’m creating a new Consignment stock warehouse. This isn’t strictly part of the process, but it’s the way I’ve seen this process being managed in practice. Inventory management > Setup > Inventory breakdown > Warehouses:

Note. Don’t be tempted to use the warehouse Vendor account on your Consignment warehouse. That field is related to the sub-contract production process (where you want to deliver to your sub-contract vendor), so it defaults the warehouse delivery address. In this context, you’d have products going around in circles.

Now we can setup a new item, and assign that Tracking dimension group. Note that only standard cost, and moving average inventory cost models are supported:

I’ve chosen Standard cost, so I’ll activate the standard cost for my released product.

Now we’re ready to create a Consignment replenishment order. Procurement and sourcing > Consignment > Consignment replenishment orders:


Create a new Consignment order, Click new, give proper vendor, site & warehouse details


Add line items for consignment orders


the inventory transaction status of this consignment order reference as a Consignment replenishment order and receipt status is order


now let’s receive our consignment inventory. Procurement and sourcing > Consignment > Consignment replenishment orders > Receive > Product receipt:


After posting the Product receipt the inventory transaction and on hand inventory will be updated.


Note that there are no ledger postings related to the Consignment replenishment order product receipt:


Before we consume this inventory, we need to create an Inventory ownership change journal. Inventory management > Journal entries > Items > Inventory ownership change or Procurement and sourcing > Consignment > Inventory ownership change:


Click New and open the new window form


Create a line, and fill the ‘From’ Site, Warehouse, Location and Owner


Post the journal, system generates the automatic purchase order will be created
 Click OK


The purchase order status is received and the Purchase order header shows an Origin of ‘Consignment’ (and the purchase order line quantity can’t be changed on the Purchase order):


Will look into Inventory transactions status 


The Inventory ownership change journal has consumed some of our consignment inventory and we have a purchase order product receipt (with the normal ledger postings).


So now we can transfer this inventory and consume it on a production order, and we can post a purchase order invoice on the purchase order.

There are some  restrictions on the consignment inventory. You can’t issue the consignment inventory to a transfer order, and you can’t issue the consignment inventory to a production order – you have to posted the ownership change first. But you can count the inventory (up and down), and transfer the consignment inventory using a transfer journal. There’s also a rather neat function to automatically populate the Inventory ownership change journal from production order components.


Create checks that have Blank status for D365FO

  Introduction Microsoft released a new Feature in version 10.0.3 of  Dynamics 365 for Finance and Operations related to Checks in Blank ...